Most locks have a “pin and tumbler” design. This means that inside the lock, there are a few small pins which stand at different heights when a door is locked. A spring on top of the pins makes sure they are kept in place. When you insert a key into the lock, the exact pattern of the key lifts the pins so they are all at the same height, and this unlocks the door.
In order to pick a lock, you need two things: a “pick” and a “tension wrench”, two paperclips can be used for both functions.
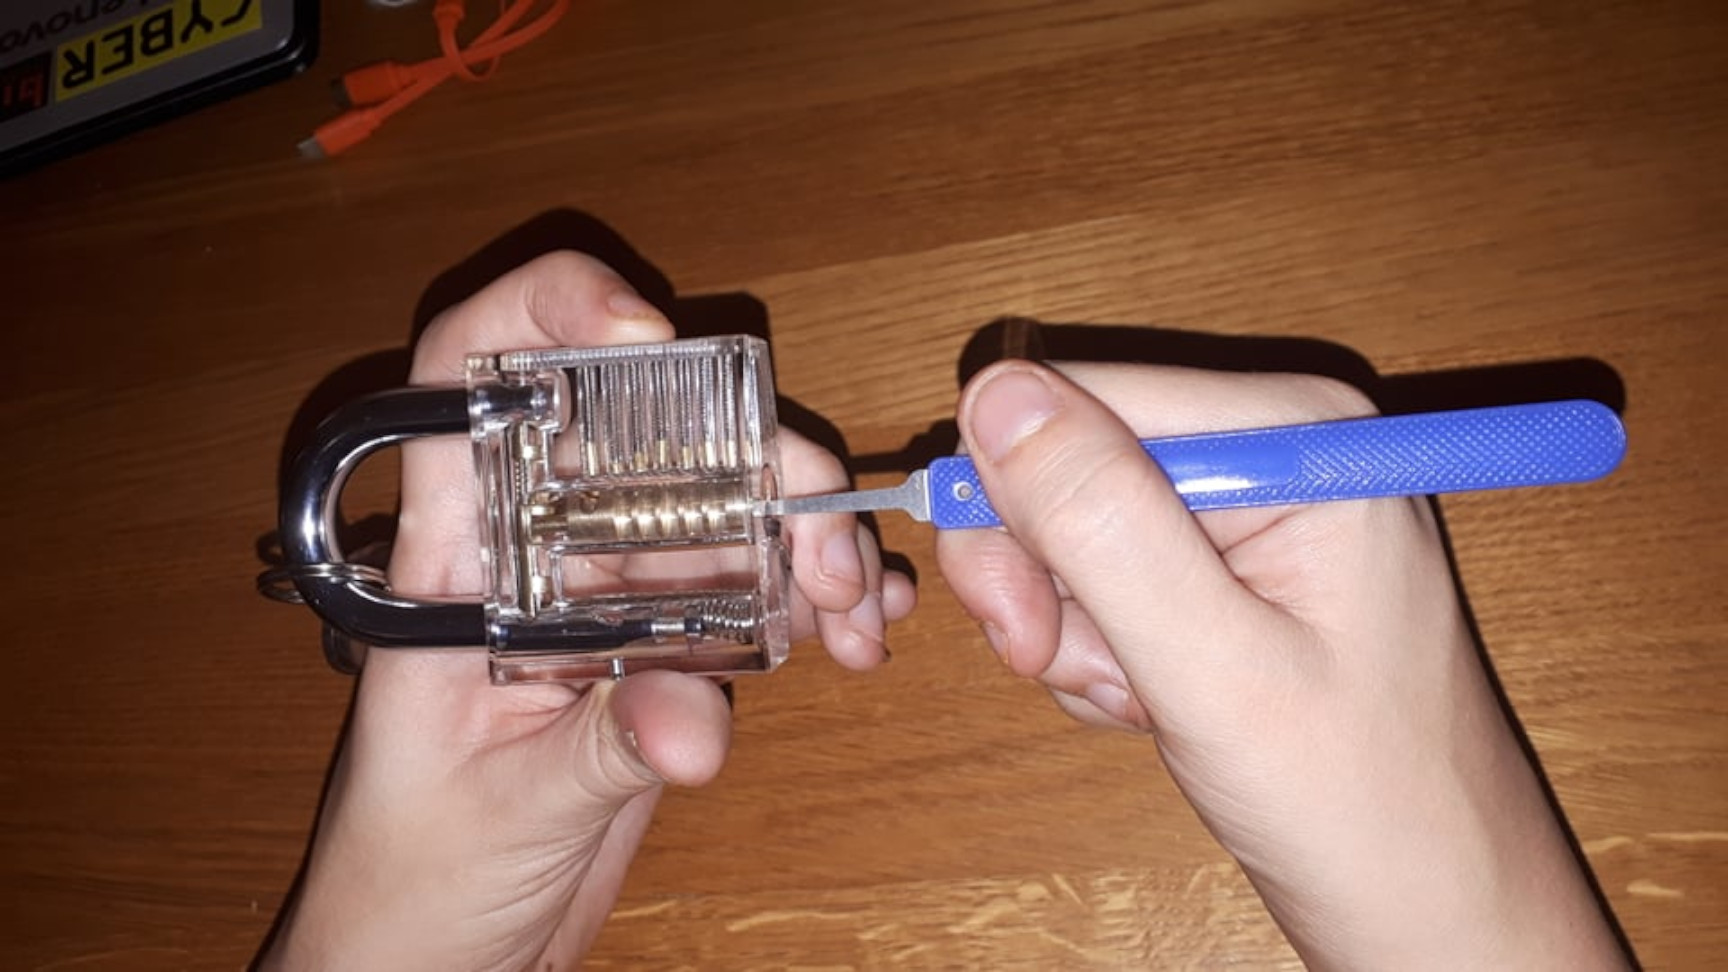
First, you insert the shortest side of an L-shaped paper-clip or “tension wrench” into the bottom of the keyhole. Then, you turn the paper-clip in the direction the lock usually opens and hold it there. This creates tension, which loosens the pins which keep the door locked.
Second, you insert hooked paper-clip or “pick” into the top of the keyhole, where, starting with the pin furthest to the keyhole, you lift up the pins one by one until they are all at the same height ( you should be able to feel when this happens, and sometimes hear an audible “click”).
Lastly, when all the pins are at the same height, you should be able to turn the “tension wrench” all the way to unlock the door completely.
Why are our students learning to pick locks?
We all believe that the locks on our doors keep us and our belongings safe, but the fact that you can learn how to pick a common lock in a few seconds shows this assertion to be false. What in the past may have provided us safety, does no longer suffices to do so in the modern world. That is why it is important for our students to learn lock picking: to illustrate that there is a desperate need for people like them, who can upgrade our current technologies in order to provide security for people once again.
Sources: How Lock Picking Works, An Introduction to Lock Picking: How to Pick Pin Tumbler Locks, How to Pick a Lock (Basics)